SKYCUBE.net
Solutions for Go, MySQL, PHP, Linux and more
Backup a Linux server to Amazon AWS S3, installation, setup and usage guide for Debian and Ubuntu
Amazon AWS S3 is a pretty cheap and very easy to use service to store data i.e. backups instead of storing those on a seperate drive.
S3 also can organzise the transfer to Amazon Glazier if you want to archive the data on even cheaper space.
As you will only transfer data into a S3 bucked, you do not pay transfer fee and only the storage cost which are way cheaper then even pay much at all (cheaper then even external usb drives). ANother great benefit is, that you can use ether the comand line tools or the AWS console to access your backups withou wasting any of your servers recources.
To do the backup in the end, I use a daily cron job which then uploads the new data to S3 using s3cmd.
Download and install the S3 tools package list in to apt
wget -O- -q http://s3tools.org/repo/deb-all/stable/s3tools.key | apt-key add -
wget -O/etc/apt/sources.list.d/s3tools.list http://s3tools.org/repo/deb-all/stable/s3tools.list
apt-get update && apt-get install s3cmd
AWS S3 Access credentials (key/secret)
You will need to configure the s3cmd to work with your AWS account.
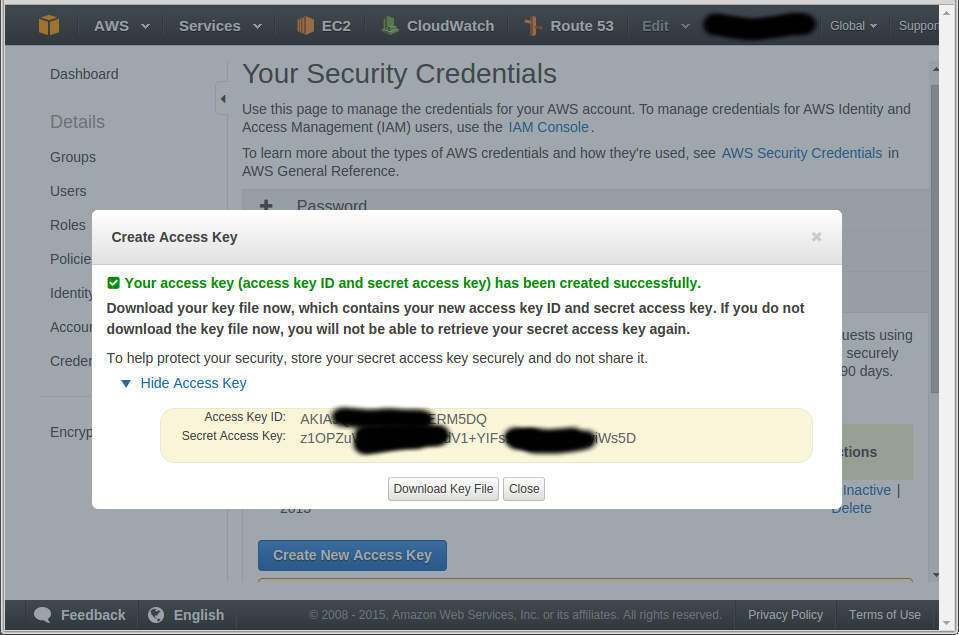
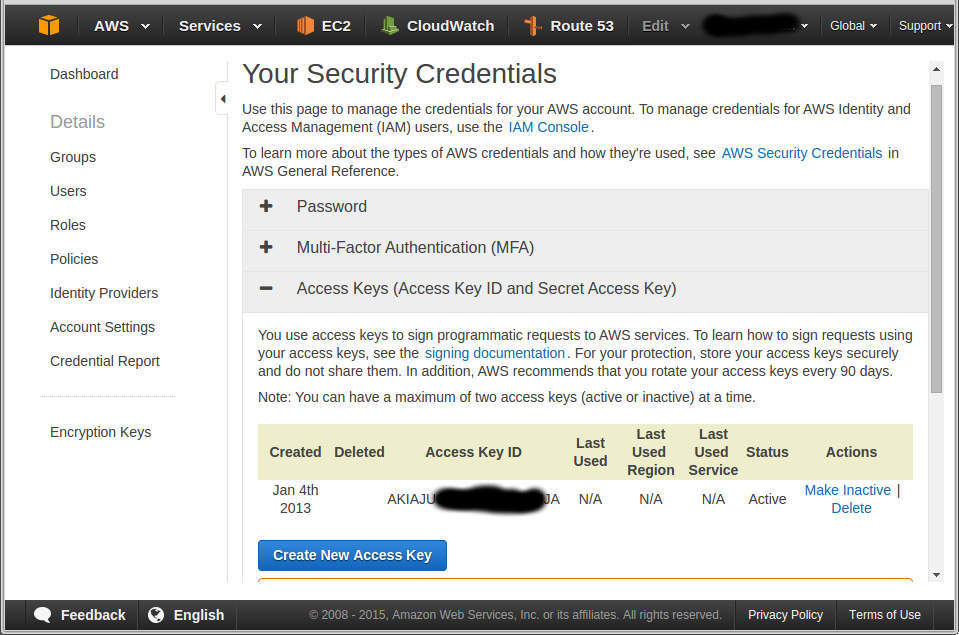
Therefore you will be asked to enter your AWS access key and secret. If you do not have them on records, go the Amazon website into the account section. Below screenshot show you where you get them.
https://aws-portal.amazon.com/gp/aws/securityCredentials
Configure s3cmd to access AWS S3
s3cmd --configure
When asked to provide an encryption password, choose yes and provide a secure one!
When asked if you want to use HTTPS, choose yes. Note, HTTPS is slightly slower but I believe all web traffic should be encrypted.
Your setting will then look like this:
New settings:
Access Key: XXXXXXXXXXXXX
Secret Key: XXXXXXXXXXXXXXXXXXXX
Encryption password: PASSWORD
Path to GPG program: /usr/bin/gpg
Use HTTPS protocol: False
HTTP Proxy server name:
HTTP Proxy server port: 0
The config will now allow you to perform a test based on your credentials. If everything worked fine the configuration will be saved into /root/.s3cfg if you have done this as root user.
Using s3cmd, the basics
I assume that you are using s3cmd the first time. Therefore I am giving a quick overview over the commands you need.
First of all or before we can really start working with S3 we have to create a bucket. Then we can put and get data. Note that the bucket name must be UNIQUE in your AWS Region!
Create new S3 bucket:
s3cmd mb s3://server-backupsList available buckets in S3
s3cmd ls
2016-01-26 02:16 s3://server-backups
Push a file to S3:
echo "hello world" > test.file
s3cmd put test.file s3://server-backups/
List files in a S3 bucket:
s3cmd ls s3://server-backups/Get/Download file from S3 bucket
s3cmd get s3://server-backups/test.fileDelete a file from S3 bucket
s3cmd del s3://server-backups/test.fileGet size of current s3 bucket or folder in S3 bucket
s3cmd du -H s3://server-backups/Synchronise files and folder to S3
s3cmd sync --recursive --progress --no-check-md5 --verbose /mnt/backups s3://server-backups/;Please note that the sync command has many options and I found those used above most efficient and fastest. For example md5 easily double the synchronisation time. Usage documentation: http://s3tools.org/usage
Cron Job/Task to do a sync i.e. nightly
As we know how we can put and get files into a S3 bucket and of course synchronise we are going to script this.
Please take as an inspiring idea and yes it works almost out of the box.
/root/s3backyupsync.sh
#!/bin/sh
################################################
# Simple script to synchronise data into S3 bucket(s)
# @Author: Per Lasse Baasch (https://skycube.net)
# @Version: 2016-01-27
#############################################
LOCALDIR='/mnt/backups'
S3BUCKET='s3://server-backups/'
MAILLOG=yes
MAILRECEIPIENT='[email protected]'
MAILSUBJECT='Daily S3 Cloud Backup Sync'
#############################################
### Remember start time
CURRENTDATETIME=$(date +%Y-%m-%-d-%H:%M:%S);
### Sync data
s3cmd sync --no-progress --recursive --skip-existing --no-check-md5  $LOCALDIR $S3BUCKET;
### Mailing
if [ "${MAILLOG}" = "yes" ]; then
        TMPFILE=/tmp/s3backupsynclog.txt;
        echo "STARTED: ${CURRENTDATETIME}" > $TMPFILE;
        echo "ENDED  : $(date +%Y-%m-%-d-%H:%M:%S)" >> $TMPFILE;
        echo '' >> $TMPFILE;
        s3cmd du -H $S3BUCKET >> $TMPFILE;
        echo '' >> $TMPFILE;
        mutt $MAILRECEIPIENT -s "${MAILSUBJECT}. - ${CURRENTDATETIME}" < $TMPFILE;
	rm $TMPFILE;
fi
And to do all above every night edit your cron tabs via
crontab -eand paste in the bottom the following (assuming you saved the file in /root/s3backyupsync.sh)
# Sync S3 every midnight
0 0 * * * /root/s3backyupsync.sh > /dev/null 2>&1